The OpenPlant Project Administrator Interface
OpenPlant Project Administrator allows users to automate the simple configuration and project setup tasks thereby ensuring that the user is not needlessly exposed to a developer's tool for schema management when making simple changes that are done at the beginning of every project. Class Editor will still be shipped allowing users to do more complex tasks.
The Ribbon
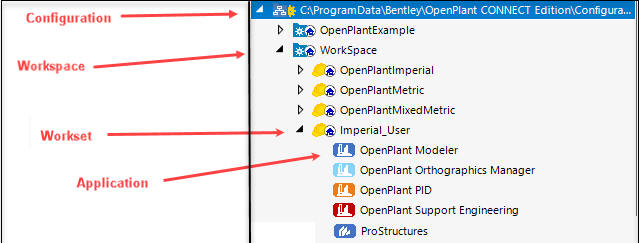
The OpenPlant Project Administrator is set up with a tabbed tool ribbon located at the top of the interface, with a navigation pane listing OpenPlant Configurations, Workspaces, Worksets and Applications. OpenPlant Project Administrator supports OpenPlant Modeler, OpenPlant PID , OpenPlant Support Engineering and ProStructuresapplications.
The Tool Ribbon displays up to four tabs, depending on what is selected in the Navigation Pane. Each tab with multiple options contained within. Click on the links below to display help for the individual tool ribbons:
Productivity tools and Your Profile
The top right-hand section of the ribbon contains shortcuts for frequently used productivity tools like about dialog, help documentation, and your profile.
-
 User Icon
- User icon displays the CONNECTED user's initials. You can select the drop-down button to view account information to view the below information:
- Name - Displays your user name
- Email Address - Displays your email address
- View Profile - View your profile
 Aha Portal
- Opens Aha idea portal site (https://openplant.ideas.aha.io/).Use this portal to submit your product improvement suggestions, vote on other ideas, and provide feedback.


- Switch Language
- Sets the language.
 button.

Check-In EC3 Schema to ProjectWise
In the
 Preferences dialog, toggle on the
Checkin Process Schemas to ProjectWise after iTwin
Setup/Upgrade checkbox to checkin the schemas to ProjectWise.
Preferences dialog, toggle on the
Checkin Process Schemas to ProjectWise after iTwin
Setup/Upgrade checkbox to checkin the schemas to ProjectWise.
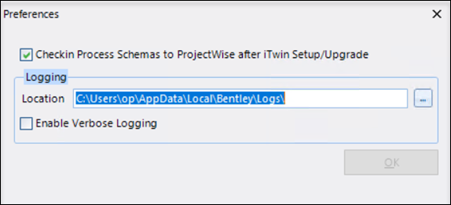
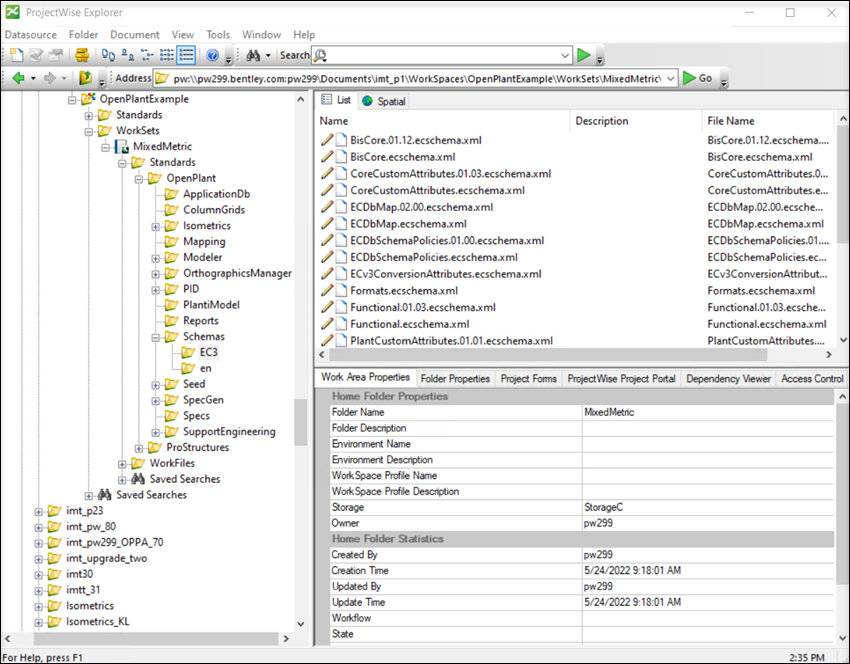
EC3 schemas are created inside the schema folder in ProjectWise.
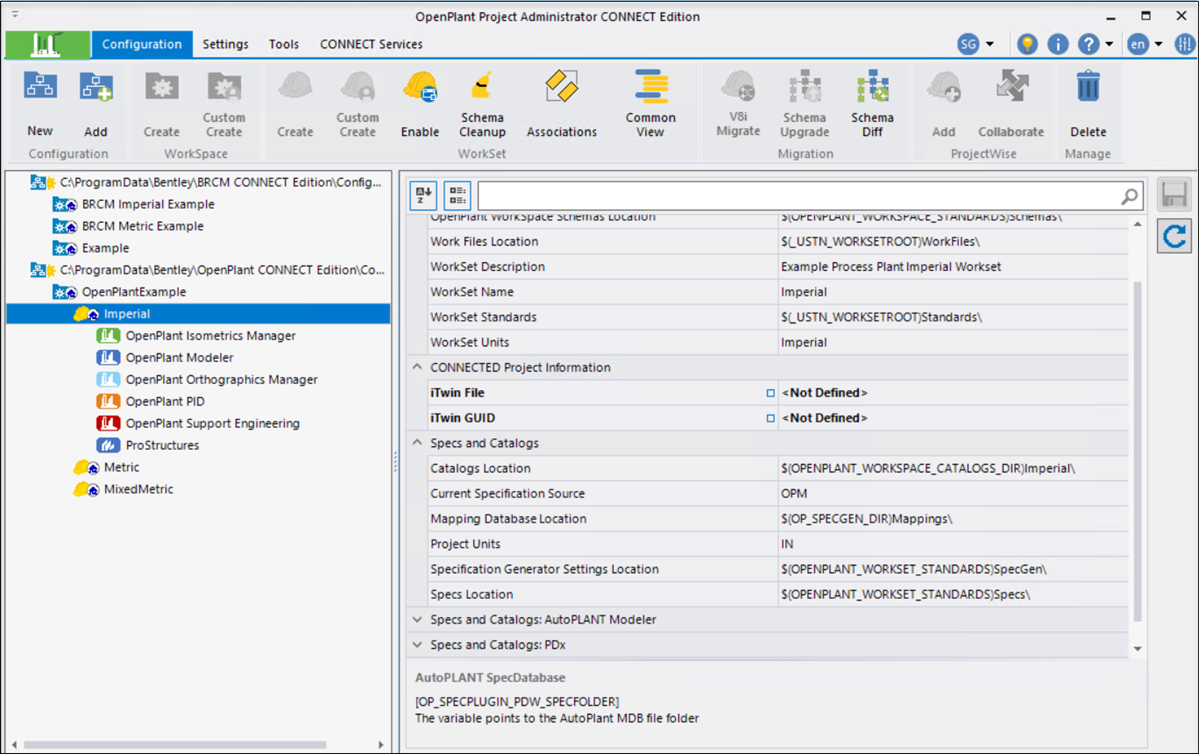
Navigation Tree
- Click the top level Configuration node and the options in the Configuration and Workspace groups are available.
- Click on a Workspace node to enable the Workset creation options.
- Click on a Workset to enable Workset Enabling and Editing options.
- Click on an Application node to display the Settings and Tools ribbon tabs.
Property Grid
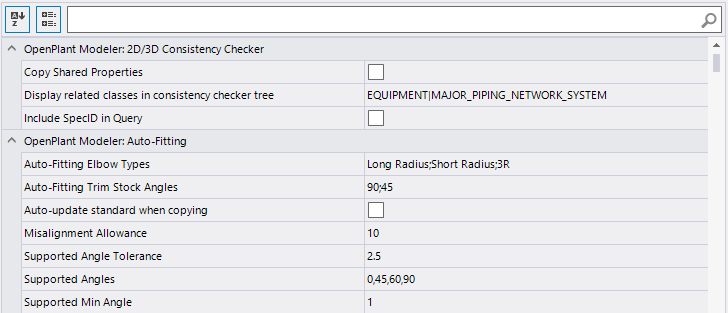
When you select a project, all the project's configuration variables are listed in property grid to the right of the Navigation Tree.
The configuration variables can be displayed either in a grouped view where variables are grouped into expandable setting tabs as shown.
The variables can also be displayed in a Flat view where they are not grouped and displayed in alphabetical order.
Click the
 icon to toggle the display of the
project variables. The variables can be either grouped as shown in the above
image, or in a flat view with no groupings.
icon to toggle the display of the
project variables. The variables can be either grouped as shown in the above
image, or in a flat view with no groupings.
Use the Sort
 icon to sort the variables in
Ascending/Descending order.
icon to sort the variables in
Ascending/Descending order.
Filter
To filter the list, type your search criteria into the
search field. The list is filtered dynamically as you type in characters. To
clear the filter, click the
 icon next to the filter field.
This icon displays when characters are entered into the field. The variables
can also be displayed in a Flat view where they are not grouped and displayed
in alphabetical order.
icon next to the filter field.
This icon displays when characters are entered into the field. The variables
can also be displayed in a Flat view where they are not grouped and displayed
in alphabetical order.

 Save
Save  Restore Defaults